Fitting a bigger Hard Disc to the Sony Playstation 3
Backing up your existing PS3 drive
 This can actually be the hardest part of the entire process, because of the interaction between different devices. You require an external USB hard drive big enough to hold all your PS3 data (which can be several GBs). However, the PS3 doesn't recognise NTFS format drives, or Apple Mac format, or Network Attached Storage (NAS) devices. You require a device plugged directly into one of the USB slots on the front.
Because the PS3 requires the external drive to be in FAT32 format (Windows, MS-DOS), this limits the maximum size you can use. This is because Windows (both XP and Vista) will only recognise FAT32 drives of up to 32 GB. This can be amazingly tight - I had to delete a load of demos and unessential saved games on the PS3 in order to get the data down to a size which would fit on a FAT32 drive.
If you require additional instructions on how to re-format a large hard drive (>32GB) down to 32GB FAT32 format for the purposes of the backup, then click here.
Once you've got a suitable device, then it will automatically appear under Video/Music etc on the PS3 desktop display. If nothing happens when you plug it into the PS3 USB socket, then it's not recognised and you can't use it to do a backup.
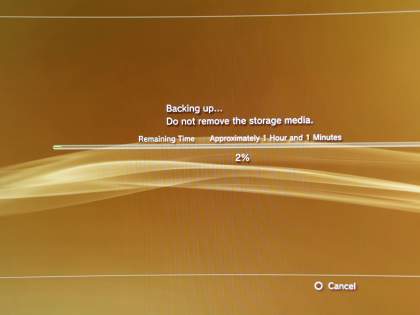
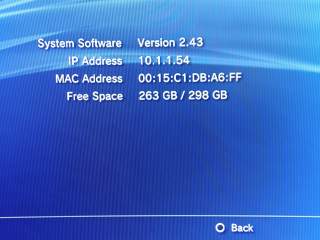
![]() Once you've got a USB device suitable, you should select the Backup option from the System settings on the PS3. Follow the on-screen instructions and if all is well, the backup should start (see screenshot)
Once you've got a USB device suitable, you should select the Backup option from the System settings on the PS3. Follow the on-screen instructions and if all is well, the backup should start (see screenshot)
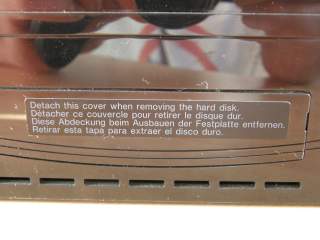
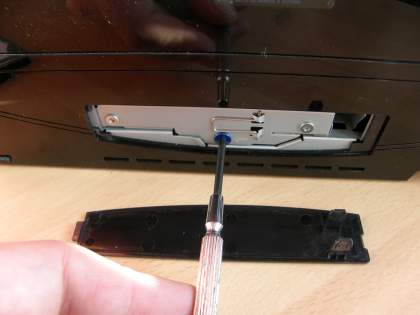
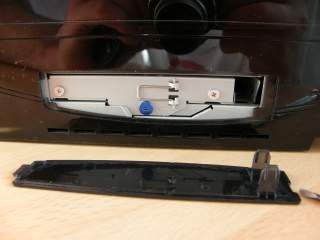 Next, locate the hard drive cover on the side of the PS3 (left). Carefully remove the cover with a screwdriver, revealing the hard drive fitting bracket underneath (right)
Now remove the small holding screw so that the drive assembly can slide back and out towards you (below)
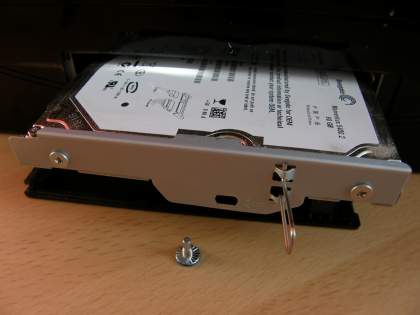
Next is the hard part.... You need to remove the hard drive from its mounting cradle by removing the four tiny screws holding the hard drive in place. On my PS3, these were done up incredibly tightly so you need a strong, well fitting screwdriver and a firm grip, to ensure that you don't damage the screws by twisting the head too much. I found this to be the most difficult part of the whole procedure.
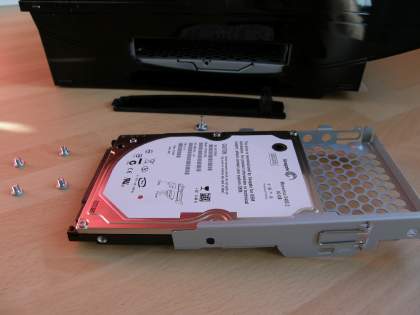
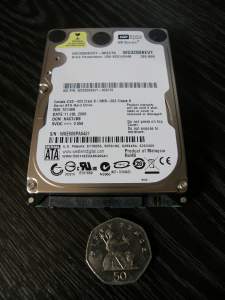
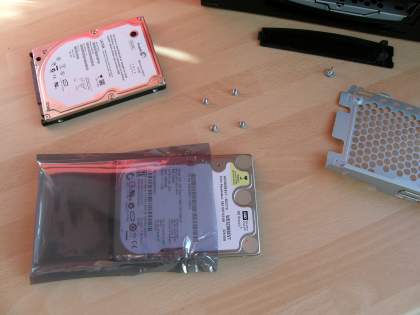
You're now ready to replace with the new drive. Carefully remove the new drive from its packaging and reverse the procedure above. Fit the new hard drive into the mounting cradle, using the four screws you just removed from the old drive.
Replace the drive cradle into the PS3 and slide into place, then fasten the original fixing screw before replacing the plastic cover. Your new hard drive is now installed and all that remains is to restore the files that you backed up previously.
If all is well, you should now have oodles of hard disc space! :-)
Add a comment to this article
I am sorry to report that no further comments are to be left for articles here. We thank you for past comments. This feature has been disabled.