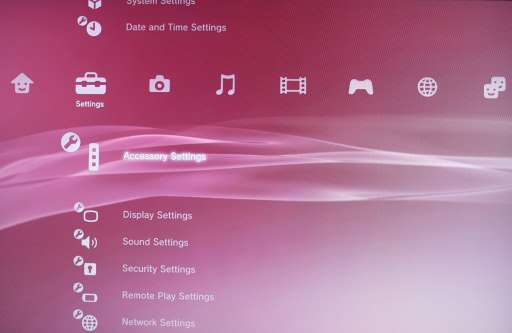
1. Select Accessory Settings
Before you can use new bluetooth devices you have to register, or 'pair' them together. Therefore select the Accessory Settings from the main Playstation 3 desktop screen.
I apologise for the low quality of the screenshots. They were taken by digital camera photographing the TV screen, then converted to JPEG in order to save download time and enable this page to fetch quickly.
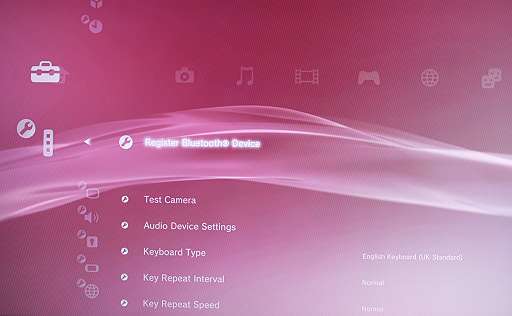
From the Accessory Settings you want to register a new bluetooth device. This is known as 'pairing' and will pair two devices together so that they can communicate with each other.
You should now select which type of device you want to register. This is self-explanatory, so select the Headset option.
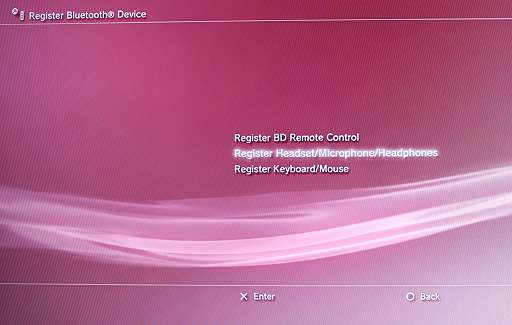
The PS3 is now ready to start scanning for any bluetooth devices within range. However, before you click on Start Scanning you need to make sure your headset is turned on and in 'pairing mode'.
Ensure the power is turned off on the Pulsar 590 headset and then press and hold down the 'call control button' (see 'Pairing' section of headset user guide). Whilst you're still holding down the call control button, turn the headset power on via the normal on/off switch. The indicator light on the headset should start flashing alternately red and blue.
The headset is now listening to any pairing requests, so now click the ![]() button on the PS3. If all is well, the PS3 should detect the headset.
button on the PS3. If all is well, the PS3 should detect the headset.

The headset is detected, identified as "590Plantronics" so click the ![]() button to select it.
button to select it.
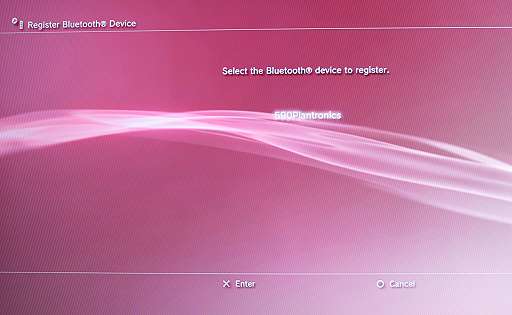
You will now be prompted for a pass key in order to pair the two devices. The default pass key for the Pulsar 590 is 0000. Enter this and click the ![]() button.
button.

If all is well the headset will be paired with your PS3 successfully and should be now ready to use.

Your headset is now paired and ready to use. However, before you can use it in games you should enable the audio settings in the PS3 setup.
Go back to the main Playstation 3 desktop screen and locate the Audio Device Settings, still in the Accessory Settings.

You should select your new headset device for both input and output device. You can also set the microphone to an acceptible level. If you start speaking normally whilst wearing the headset you should see a visual bargraph indication of the microphone level.
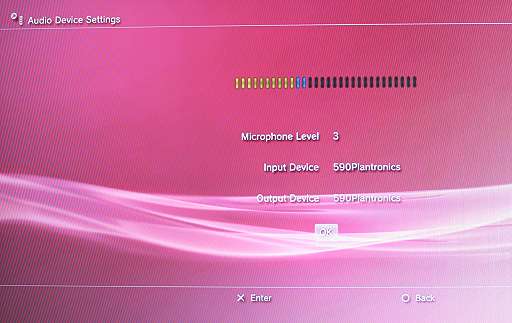
Once you are happy with all the settings you should OK the settings to store them in your Playstation 3.
You should now be able to take part in voice chat communications within games and relevant lobby areas.
|
Last edit: 10th Apr 2016 at 1:58pm |
|
Viewed 10194 times since 6th Apr 2007, | ||||||||||
|
| ||||||||||||||||||||||||